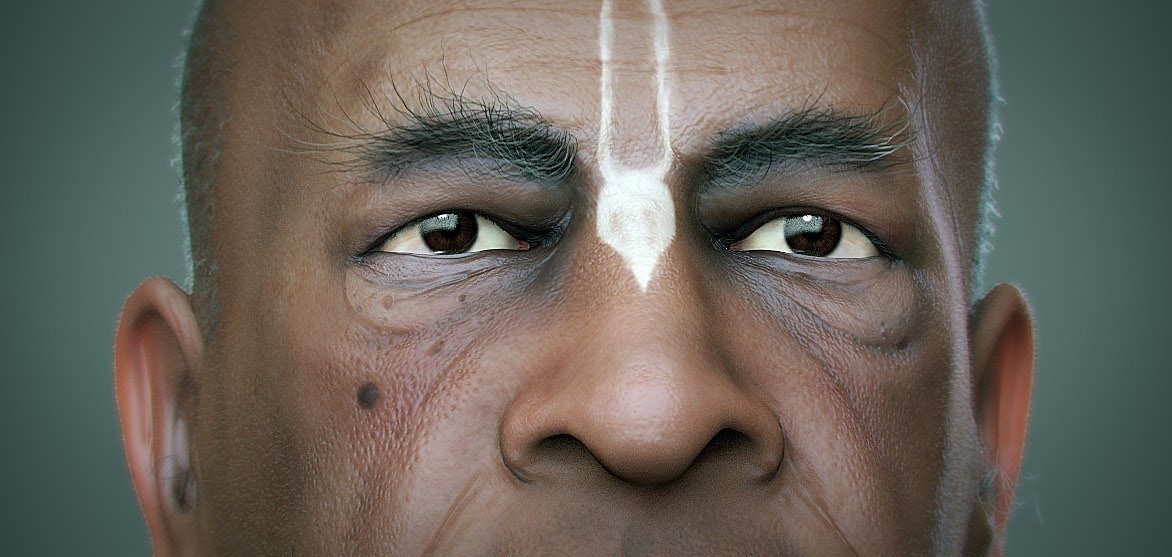
The little creases around the eyes in Milivoj Popovic’s face study are easy to admire. Keeping them usable is a different job. A saved image lets you look at the result; the working project lets you change the light, revisit a layer or move the camera before painting over it. Mudbox’s closure makes that distinction rather urgent.
Autodesk discontinued Mudbox on November 7, 2026. New subscriptions, downloads and updates have ended. Existing subscribers retain use and support through their original terms; the 2027 Media & Entertainment Collection is the last to include it. Check your own access window before deciding when to move files.
Archive the project and the folder beside it
Start with an untouched copy of the native scene. Autodesk’s format guide says a .mud file can hold subdivision levels, sculpt and paint layers, cameras, lights and materials. Paint-layer bitmap files live separately in the accompanying -files directory. Copying the scene alone can leave the appearance behind.
Keep that archive separate from exports you plan to experiment with. A short note naming the application version, texture locations and important camera views is worth more than a folder called final_final. Give a future reader enough information to recognise what the project should look like when opened.
A useful archive manifest can be very short: scene filename, companion folder, model units, texture channels and the views used for approval. Add a thumbnail of the intended result. If several versions share the same creature name, record which one contains the approved proportions and which versions are experiments. That saves guesswork when the project is reopened months later.
Choose the surface you need to carry forward
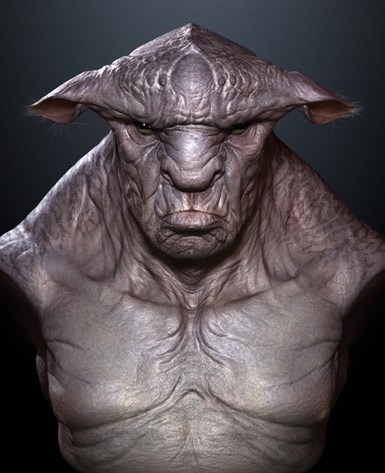
Kenichi Nishida’s creature has several scales of information: the broad shoulders and heavy brow, the chest folds, then smaller surface marks. When preparing one of your own sculpts, decide which of those jobs the exported mesh must perform. A paintover base and a close-up asset can need very different amounts of geometry.
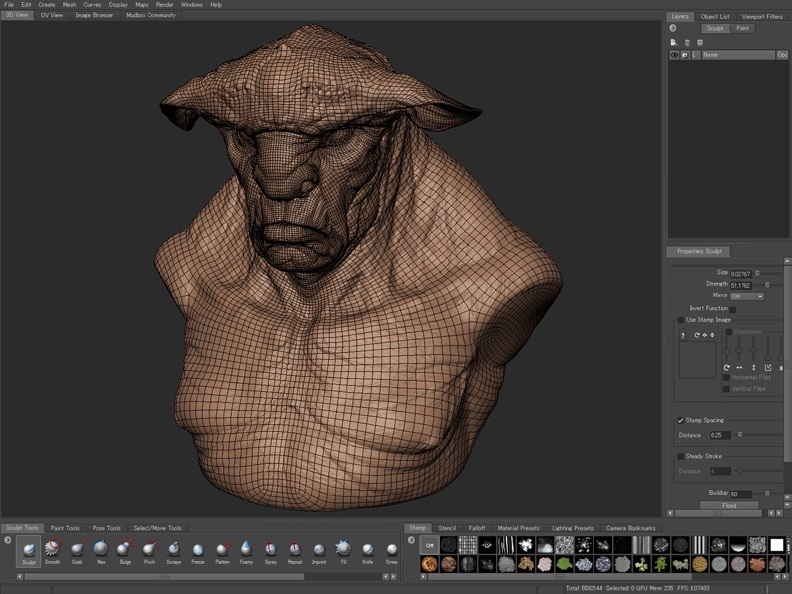
The wireframe view makes the distinction visible. Autodesk documents that FBX exports the currently displayed subdivision level. Choose that level deliberately and keep the original sculpt available. An OBJ carries polygon geometry and UV coordinates, while the native scene preserves sculpt layers and scene elements.
For a handoff, label the chosen mesh level and keep a separate high-detail reference. Include the UV layout with the texture set. A recipient should be able to answer two questions immediately: which mesh receives these maps, and what should its surface look like? A descriptive folder structure helps keep similar-looking exports from being mixed together.
Keep the layer decisions that still matter
The FBX compatibility notes deserve a careful read. Eligible sculpt layers can become blendshape or morph targets when the relevant preference is enabled. Layers associated with other subdivision levels are baked into the mesh. A successful export therefore needs checking against the particular changes you want to keep editable.
For a concept artist, those changes might be a longer jaw, a damaged helmet or two alternative expressions. Write down which variations matter before exporting. That gives you a useful comparison in the destination application, instead of discovering later that every design choice has become one fixed shape.
Treat the painted appearance as a separate handoff
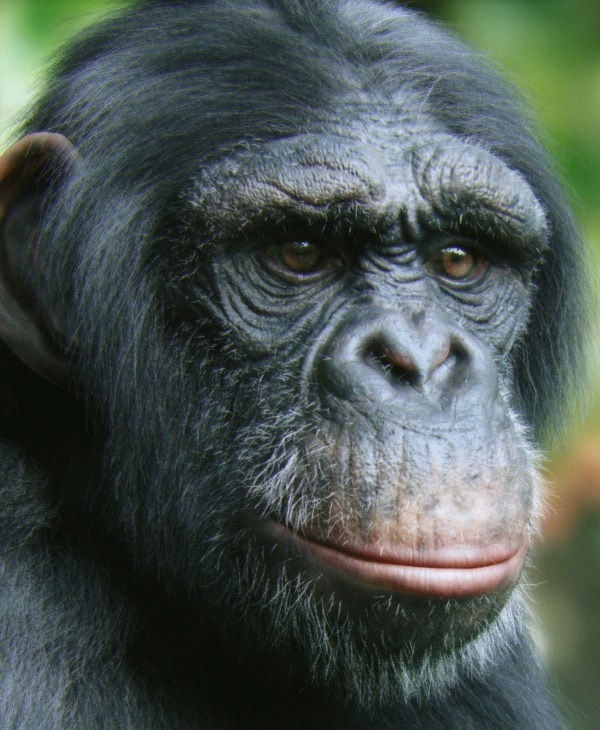
Jacques Defontaine’s gorilla portrait puts soft fur edges beside a sharply described muzzle. It is a helpful reminder to inspect appearance as well as shape. On your own asset, identify which texture channels and material settings create the features you need; a shaded preview alone cannot document those settings.
Autodesk’s FBX preferences explain the texture-folder and flattening options. Keep editable paint data in the archive and prepare a merged texture per channel where the receiving application needs it. Unsupported blend modes can change appearance, so compare the result rather than trusting matching filenames.
Check the import before making the next painting
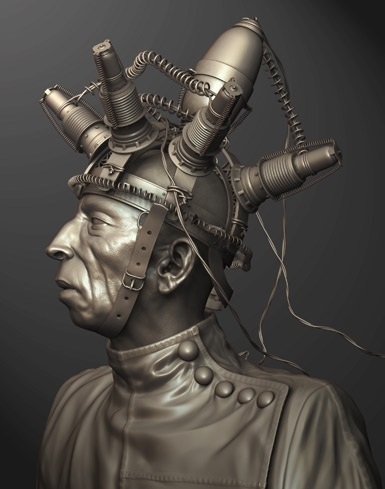
A character such as Robert Vignone’s mechanical head depends on a very specific profile: the long nose, stacked cylinders and high collar. Our recommendation is to check an imported asset in a plain material first. Look at the silhouette, proportions and openings before adjusting the lighting to make it attractive.
Then restore textures and inspect normal or displacement assignments. Autodesk’s export documentation warns that extracted maps can accompany an FBX and be assigned automatically, producing unexpected deformation. Its extraction guide also explains how a lower-resolution mesh can carry detailed surface information through maps.
Check a small representative project before committing an entire library to the same export settings. Choose one that contains the features you actually use: a painted surface, several sculpt variations and a camera you care about. Keep notes on anything that needs rebuilding. This makes the next transfer a repeatable handoff rather than another search for missing pieces.
Save reference renders from the views you use for paintovers, with the same framing and a simple light. Those pictures become a comparison target while you rebuild the asset elsewhere. The steps here are a documentation-based handoff checklist, rather than a migration we have personally tested; the selected artwork comes from Autodesk’s archival 2011 brochures.